
Even though you have bought a dedicated GPU enabled system, it may not be that easy to start doing Deep learning projects in your system. And more times than you can count you may have encountered different problems at different steps.
Some of the common problems that people face include:
- Manually installing NVIDIA Driver from their website which is latest but not stable.
- Compatibility issues. You have installed the latest versions of Cuda toolkit, cuDNN and TensorFlow separately but found that they are not compatible with each other.
- You run into different issues like boot loop or graphics problems after installing the NVIDIA driver.
Since I myself have faced the problems, reinstalled Ubuntu numerous times and yet not getting the desired outcome, I have tried to list down the proper way which worked for me as well as the common pitfalls and the possible solutions for those. I have tried this for both Ubuntu 16.04 and Ubuntu 18.04. So the solution will work for both of these versions.
Note: Please make sure that before you start anything you have a bootable USB with Ubuntu 16.04/ 18.04, as you still may need to reinstall Ubuntu.
Step 1:
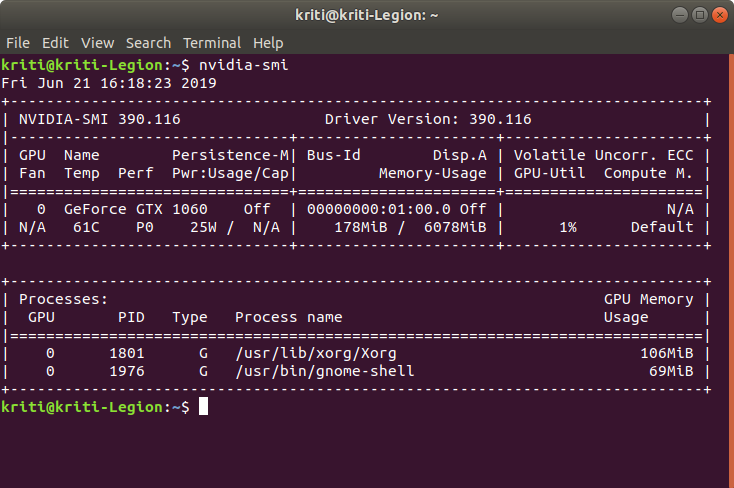
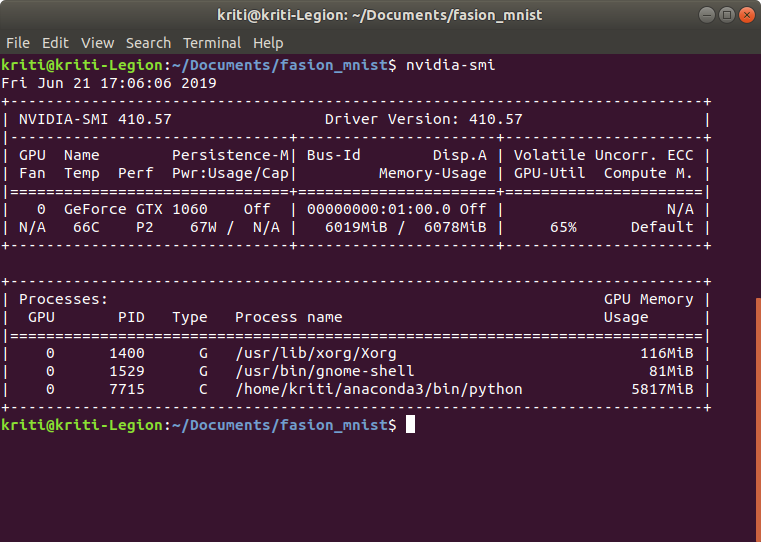
First we have to check whether your system recognizes any driver or if there is a NVIDIA driver pre-installed. For that, open your terminal (Ctrl+Alt+T) and type nvidia-smi as following:
$ nvidia-smi

Alternatively, if you observe that this command returns an NVIDIA driver installed in your system, then skip to the step directly.
Supposing it told you that there is no command found as nvidia-smi, you have to download the driver version appropriate to your GPU.
As per my experience, NVIDIA driver version 410.57 is very stable and also not very updated. Most of the stable versions of Cuda toolkit and TensorFlow will work well this version.
Step 2:
From the application menu, open Software & Updates and click on the Additional drivers tab.
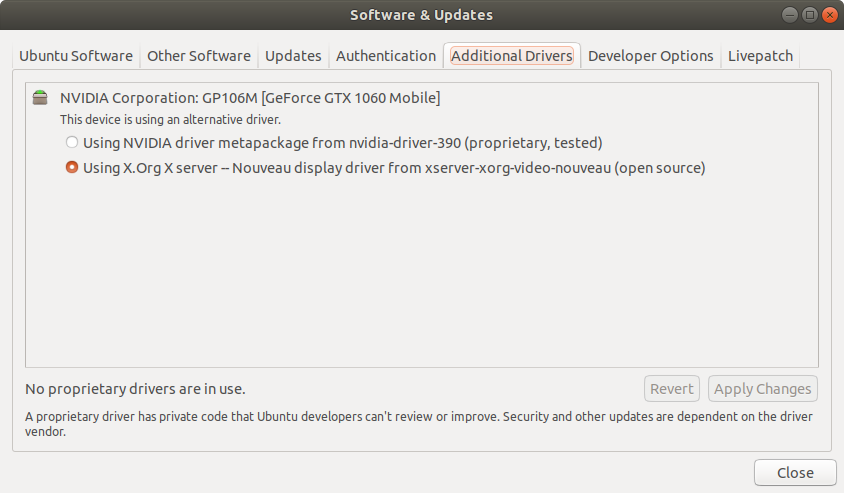
If you see the Option for NVIDIA driver version greater than or equal to 410.57, you can change your driver option from here itself. But usually, the driver version available is very outdated and often found to be incompatible with Cuda toolkit(9 or 9.2) and TensorFlow(1.05,1.10,1.13) versions.
In that case, you should download the driver manually. The link for NVIDIA driver version 410.57 is given here.
Step 3:
To install the downloaded file, open the terminal and follow these steps-
$ cd Downloads/
$ ls # it would show you all of your downloaded files
$ chmod +x NVIDIA-Linux-x86_64–410.57.run
$ sudo ./NVIDIA-Linux-x86_64–410.57.run — no-x-check # to execute
Note 1: The no-x-check flag is very important. If you execute the run file without it, it will show you an error that you need to disable the X server or something similar. Though there are methods to disable X server, but I would advice against it since it caused my system to go into a Boot loop. By throwing the no-x-check flag, you could easily avoid it.
In my case, running the file and following the instruction to install the driver, it throws an error.
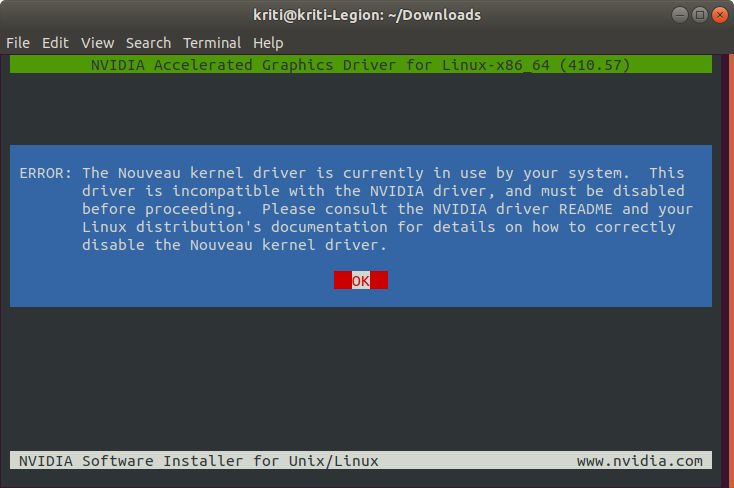
It says, my system is currently using Nouveau Kernel driver and I need to disable it before installing NVIDIA driver. Now there are several methods to disable Nouveau kernel driver but most of them did not work for me. So I am listing a round-about way to solve this problem, which worked several times in different systems.
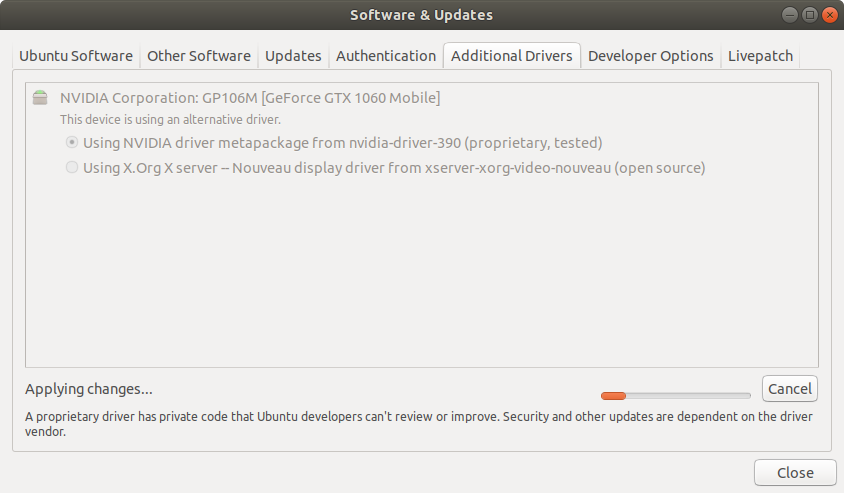
First, again go to Software & Updates and go to the Additional drivers tab
Select the NVIDIA driver meta package showing there (However old the version is). Click on Apply changes.
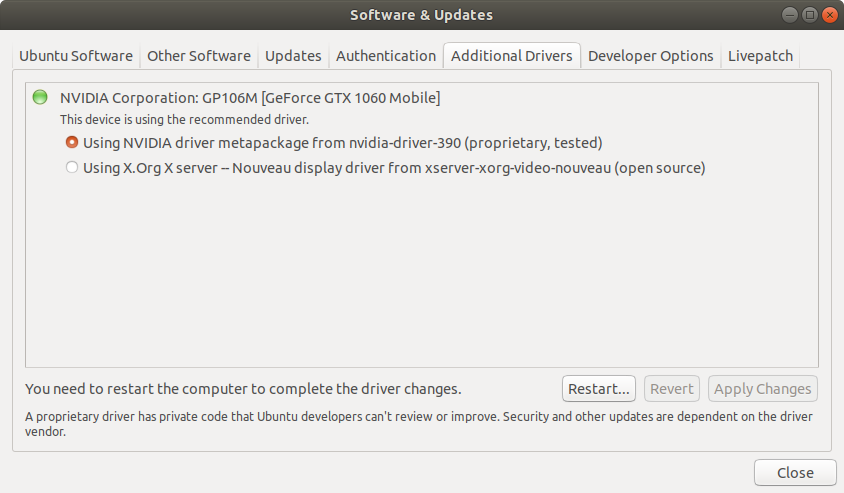
Once it applied the changes. Restart your system for the changes to take effect.
Once you restart, you have an older version of NVIDIA driver installed. You can check it with typing nvidia-smi in your terminal. It should show you something like this:
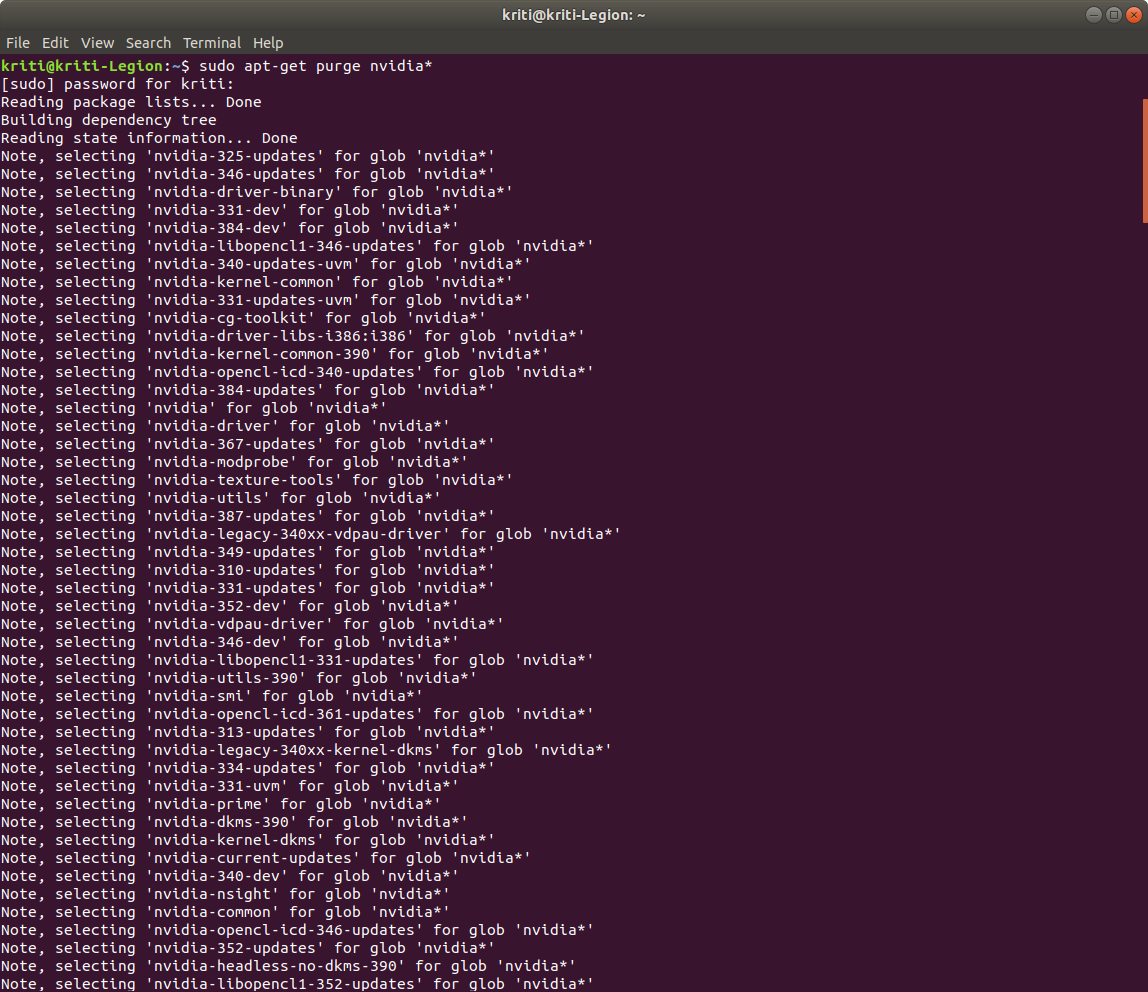
Now we will remove this driver version but keeping the important files and dependencies. So go to the terminal again and type
$ sudo apt-get purge nvidia*
Now, after the purging is complete,
$sudo apt-get update$ sudo reboot
update and reboot your system to implement the change.
Though this a round-about way for disabling existing kernel driver, but in this process your system takes care of the necessities by itself when you change your driver to NVIDIA old driver version. This way you wouldn’t run into any compatibility or hardware issues.
Now you are ready to install the 410.57 version. Hope it’s still in the Downloads folder. So we do the commands again.
$ cd Downloads/
$ ls  # you should see the downloaded file in the output
$ chmod +x NVIDIA-Linux-x86_64–410.57.run
$ sudo ./NVIDIA-Linux-x86_64–410.57.run — no-x-check
In the NVIDIA GUI, follow the instructions. you might get this box-
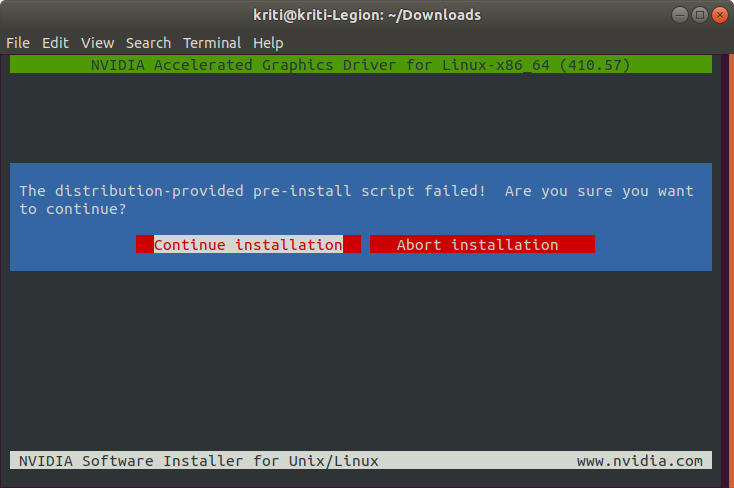
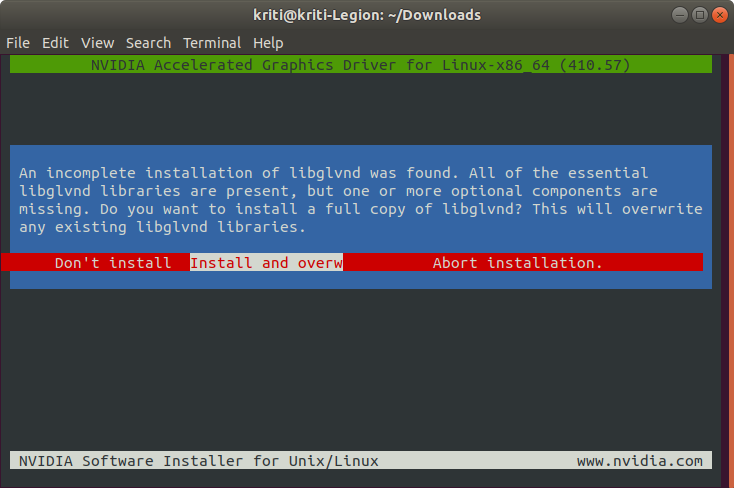
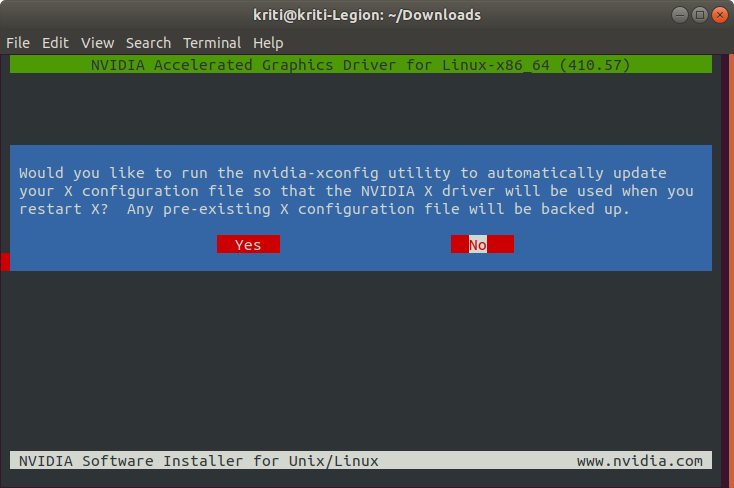
Continue the installation. Afterwards, follow the apparent options. Registering the kernel module sources with DKMS is optional and you may select No here. You should also install and overwrite the existing libglvnd libraries. You could choose Yes to install Nvidia 32-bit compatible libraries. IMPORTANT TO REMEMBER, select No when it asks to automatically update your X configuration file.
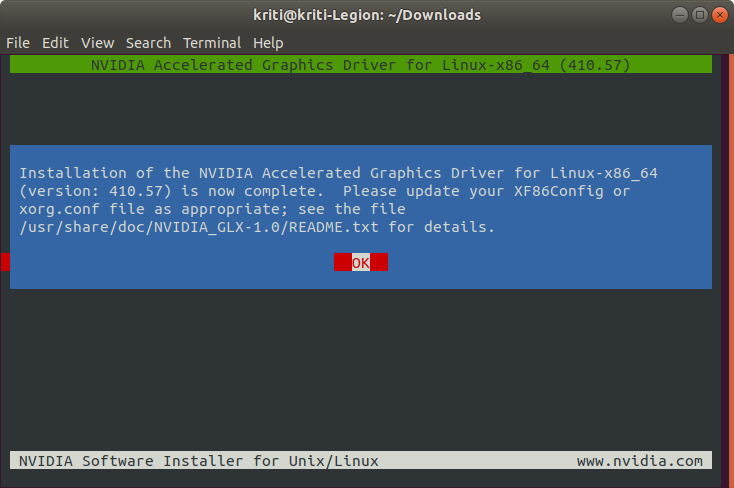
Now, all the modules will be installed and you should get a message like this-
After this is done, reboot your system again to implement the changes made. After rebooting, open the terminal and run the nvidia-smi command. Now you should see the appropriate driver version in the table.

Once, the appropriate NVIDIA driver is installed and recognized by your system, you need to create the Deep learning environment. For that, we will install Conda. We will use a very handy script written by Kaggle Master Mikel.
On your terminal just type this command and run.
$ curl https://conda.ml | bash
This will download and install the latest conda environment in your system.
After anaconda is installed in your system, we will install any other needed libraries through conda. This is important to remember. If you manually install the other libraries, there might be again compatibility issues and you have to make sure, which version goes with which. Better is, if you install everything through conda, because then conda will take care of the compatibility issues and will install the appropriate versions.
$ conda install tensorflow-gpu$ conda install keras
After all the installations are complete, it is time to check whether they are working or not. Here I have opened ipython console, imported TensorFlow and checked whether it shows any GPU device or not.
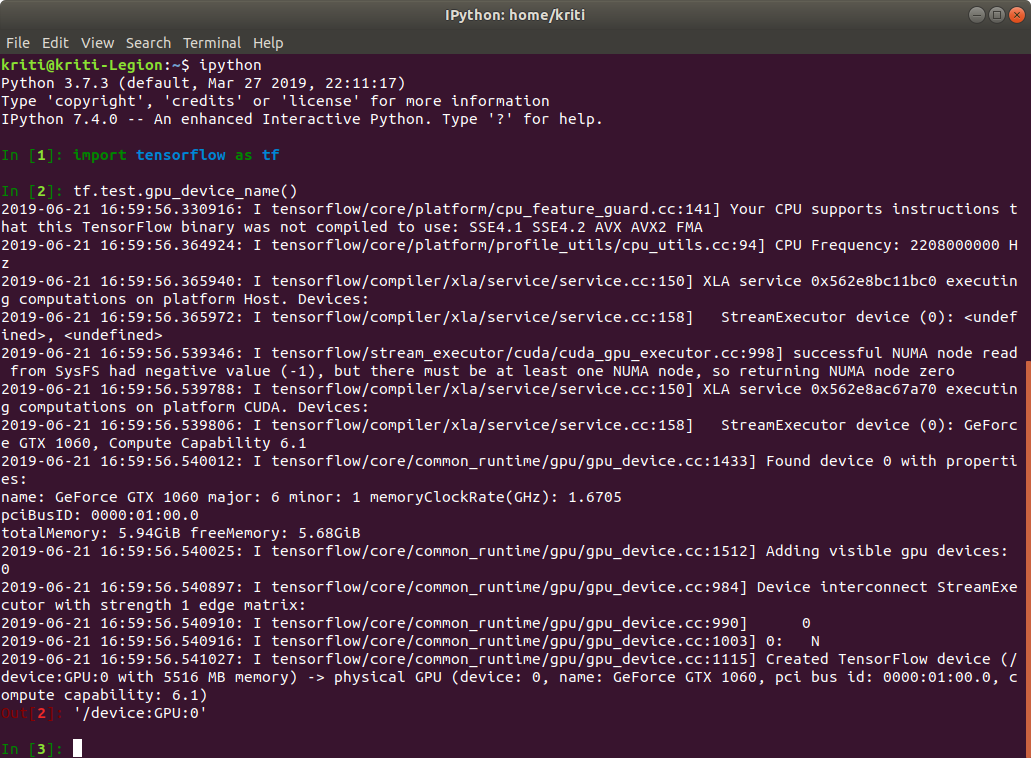
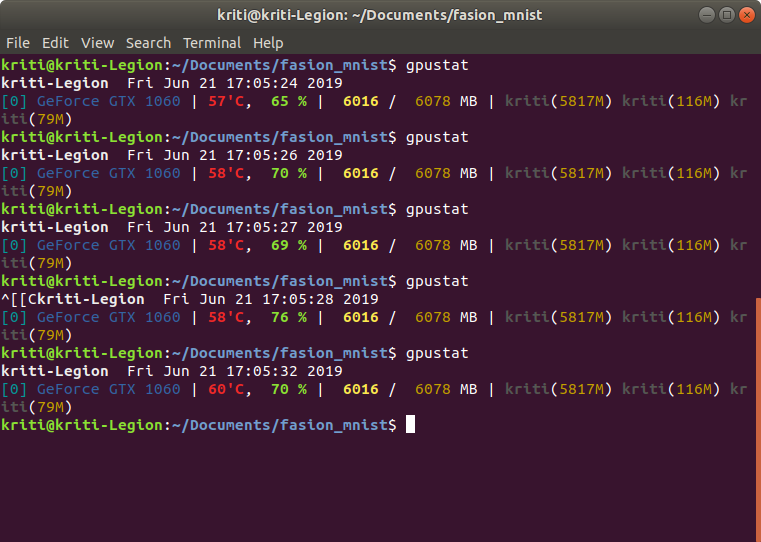
Here, you can see, it is showing the GPU I have in my system — GeForce GTX 1060. You can also run a model in jupyter notebook or somewhere else, and check the GPU status by opening a new terminal and running a command gpustat. Or, you can run nvidia-smi during model training and check the GPU status.
Now, your system is ready for all the complicated and exciting deep learning work you want to do. Enjoy. Please feel free to share any feedback or doubts on this post.
Thank you.
References: